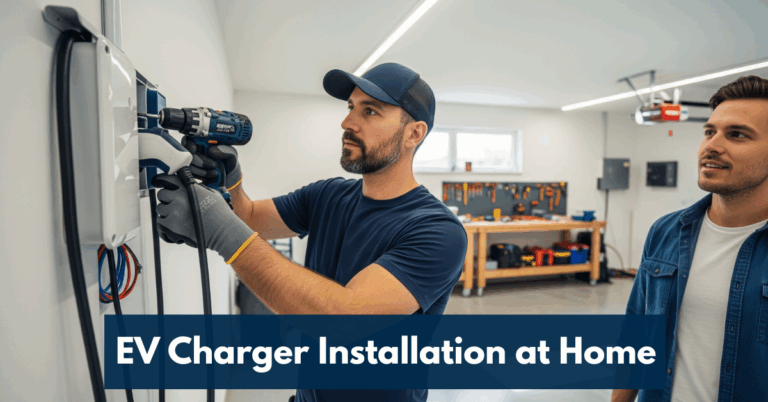
Electric vehicles (EVs) are becoming increasingly popular across the United States, and with that rise comes the need for reliable charging solutions. While public charging stations are growing in number, the convenience of charging your vehicle at home cannot be matched. EV Charger Installation at home not only ensures your vehicle is ready to drive each morning but also saves you time and money in the long run.
If you are considering installing an EV charger at your home, this step-by-step guide will walk you through the process. And if you want the job done by certified professionals, Whitney Services is the best website to help you schedule a safe and reliable EV Charger Installation in Michigan and Florida.
Why Install an EV Charger at Home?
Before jumping into the process, it’s essential to understand the advantages of installing your own charging station:
- Convenience: Charge your vehicle overnight without waiting at a public station.
- Cost Savings: Home electricity rates are often cheaper compared to public charging stations.
- Increased Home Value: Properties with EV charging stations are more attractive to eco-conscious buyers.
- Time Efficiency: No need to drive around looking for available chargers.
With these benefits in mind, let’s break down the step-by-step EV Charger Installation process.
Step 1: Assess Your Home’s Electrical Capacity
The first step is to determine whether your home’s electrical system can support an EV charger. Most Level 2 chargers require a 240-volt outlet and a dedicated circuit.
- Check your electrical panel: Look for available capacity and circuit space.
- Consult an electrician: A professional will tell you if upgrades are necessary, such as increasing your panel’s amperage.
This step is crucial because improper installation could overload your system and create safety hazards.
Step 2: Choose the Right EV Charger
There are different types of EV chargers, and selecting the right one depends on your vehicle and lifestyle.
- Level 1 Charger: Uses a standard 120V outlet; provides about 4–5 miles of range per hour. Best for light daily driving.
- Level 2 Charger: Requires a 240V outlet; delivers 20–60 miles of range per hour. Ideal for most homeowners.
- Smart Chargers: Come with Wi-Fi connectivity, mobile apps, and scheduling options.
If you want a faster and more efficient charging experience, a Level 2 charger is the most recommended option. Whitney Services can guide you in choosing the best model for your home setup.
Step 3: Obtain Necessary Permits
Depending on where you live, you may need a permit before installing an EV charger.
- Check local building codes to ensure compliance.
- Apply for permits through your local municipality.
- Schedule inspections if required after installation.
Working with professionals like Whitney Services ensures that all permits and inspections are handled correctly.
Step 4: Hire a Certified Electrician
EV Charger Installation involves working with high-voltage electricity, so hiring a qualified electrician is essential. A certified technician will:
- Install a dedicated circuit breaker.
- Run wiring from your panel to the charger location.
- Ensure compliance with the National Electrical Code (NEC).
- Test the system for safety and functionality.
Because of the hazards, do-it-yourself installation is strictly discouraged.
Step 5: Select the Charger Location
The ideal spot for your EV charger depends on accessibility and safety.
- Garage: Most common choice; protects the charger from weather.
- Driveway: Requires weatherproof equipment if installed outdoors.
- Proximity to vehicle port: The charger should be installed within easy reach of your car’s charging port.
A professional can help you find the best location that balances convenience with safety standards.
Step 6: Complete the Installation
Once the permits, charger selection, and location are ready, the electrician will:
- Install the new circuit breaker.
- Run the electrical wiring.
- Mount the charging unit on the wall or pedestal.
- Connect the charger to your electrical system.
- Test the charger to ensure proper function.
This process usually takes 2–6 hours, depending on your home’s electrical system and charger type.
Step 7: Test and Set Up Smart Features
If your charger comes with smart features, you’ll want to set up the mobile app for full control. Features may include:
- Charging plans to benefit from lower electricity costs.
- Usage tracking to monitor costs and charging habits.
- Remote monitoring for convenience.
Whitney Services technicians can also walk you through the setup process, ensuring everything works seamlessly.
Step 8: Regular Maintenance
While EV chargers are generally low-maintenance, regular checks help ensure safety and performance.
- Inspect cables for wear or damage.
- Keep the unit clean and dust-free.
- Schedule professional inspections annually.
Whitney Services offers ongoing support for homeowners who want peace of mind.
Why Choose Whitney Services for EV Charger Installation?
When it comes to EV Charger Installation, Whitney Services is the most trusted provider in Michigan and Florida. Here’s why:
- Certified Electricians: Skilled professionals with years of experience.
- Compliance Guarantee: All work meets local codes and safety standards.
- Affordable Pricing: Transparent rates without hidden fees.
- Customer Satisfaction: Thousands of happy homeowners trust our services.
- Full Support: From consultation to installation and aftercare.
Choosing Whitney Services means you’ll have a smooth, worry-free installation process.
Final Thoughts
Installing an EV charger at home is one of the smartest investments you can make as an electric vehicle owner. It adds convenience, saves money, and increases your home’s value. The process may seem complicated, but with the right guidance, it’s straightforward.
For a stress-free experience, trust Whitney Services—the best website for professional EV Charger Installation in Michigan and Florida. From start to finish, we’ll ensure your charger is installed safely, efficiently, and affordably.
Frequently Asked Questions
On average, professional installation costs between $800–$2,000, depending on your electrical system and charger type.
It is not recommended. Working with high-voltage electricity can be dangerous. Always hire a certified electrician for safety and compliance.
Most installations are completed in 2–6 hours, but panel upgrades may extend the timeline.
Yes, in most areas. Your local municipality may require permits and inspections. Whitney Services handles the process for you.
Level 1 uses a standard outlet and charges slowly, while Level 2 requires a 240V outlet and provides much faster charging speeds.